
 |
| Ready for more fun |
Lots of sleep was lost and lots of fun was had during this process. Surely the most fun was getting the wiring harness disconnected and off the frame. Oh boy, talk about a lot of connections. With a view to the reconnection process somewhere down the track, I dutifully labelled all connections with a roll of marking tape and my trusty Sharpie. It came off looking like this. Yikes!
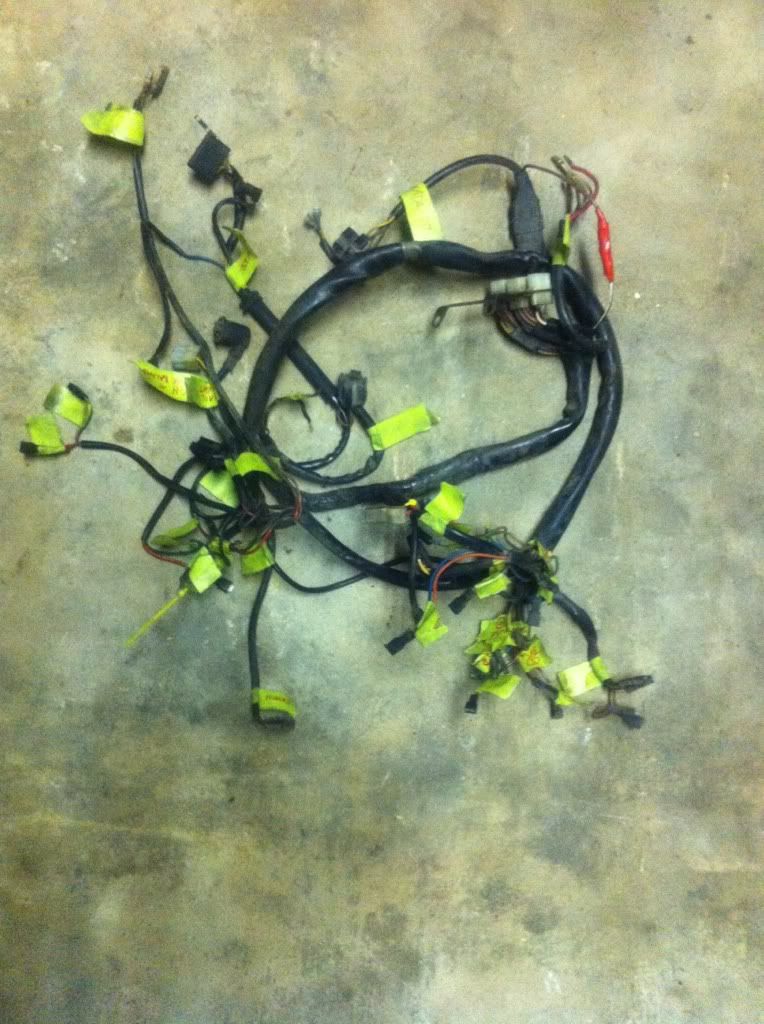 |
| How do you like your spaghetti ? |
Most of the wiring looks exactly as you would expect it to, after 31 years of being pinned to a motorcycle that has travelled many kilometers and stood in the weather for many years. I have some thinking to do, as to whether I will rewire completely or re-do any of the bad looking connectors etc.
Whatever the decision, some changes will be required, or at least a connecting sub-harness will have to be made to accomodate the instrument lights etc., as the LMII has a small circuit board for these and as part of my project the original light and instrument setup is being changed. All good fun!
Another thing that amazed me was just how many small parts are clamped to the frame. Keeping track of these is also a challenge, so far met by the liberal use of snap-lock bags. All parts are fairly grubby, so my next task will be to attack the contents of each bag and clean up the contents of all grime.
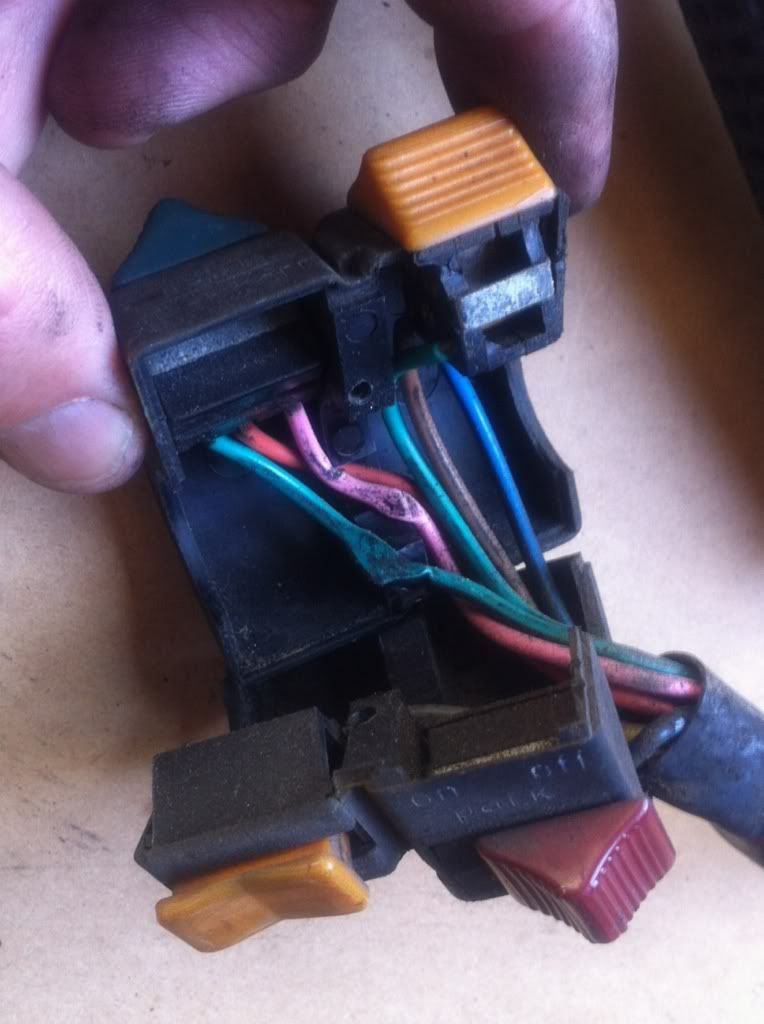
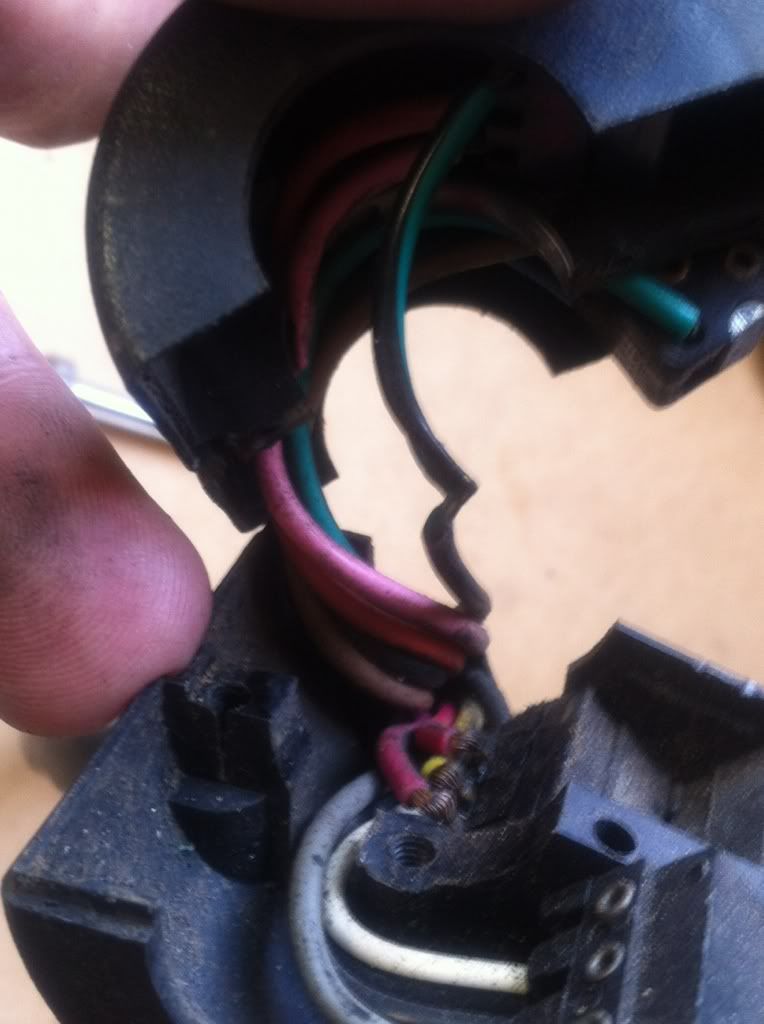
Late one evening I attempted to remove the swithgear from both clip-ons. Do you think I could work out how to release the switches? Where the hell were the screws that clamped them to the bars? For the life of me I could not make it out. The next morning I put out a mayday call to the ever-helpful AIGOR mailing list and was rather embarrassed to learn that there are two normal screws and one grub screw in each switch, just where you would expect them to be. My problem was that I was expecting large screws, when in fact they are quite small and buried underneath. It is amazing how the brain can trick you into not seeing something that it refused to accept could be there. Anyhoo, that's my excuse and I am sticking to it! When I opened the switches, a further surprise awaited as I discovered that the wires had been severely pinched at some time in the past. I would not put it past being the fault of Luigi on the original assembly line. There is a lot to be said for multi-strand wire, that's for sure.
 |
| Make sure you screw that bastard down tight, Luigi |
 |
| Yes boss! |
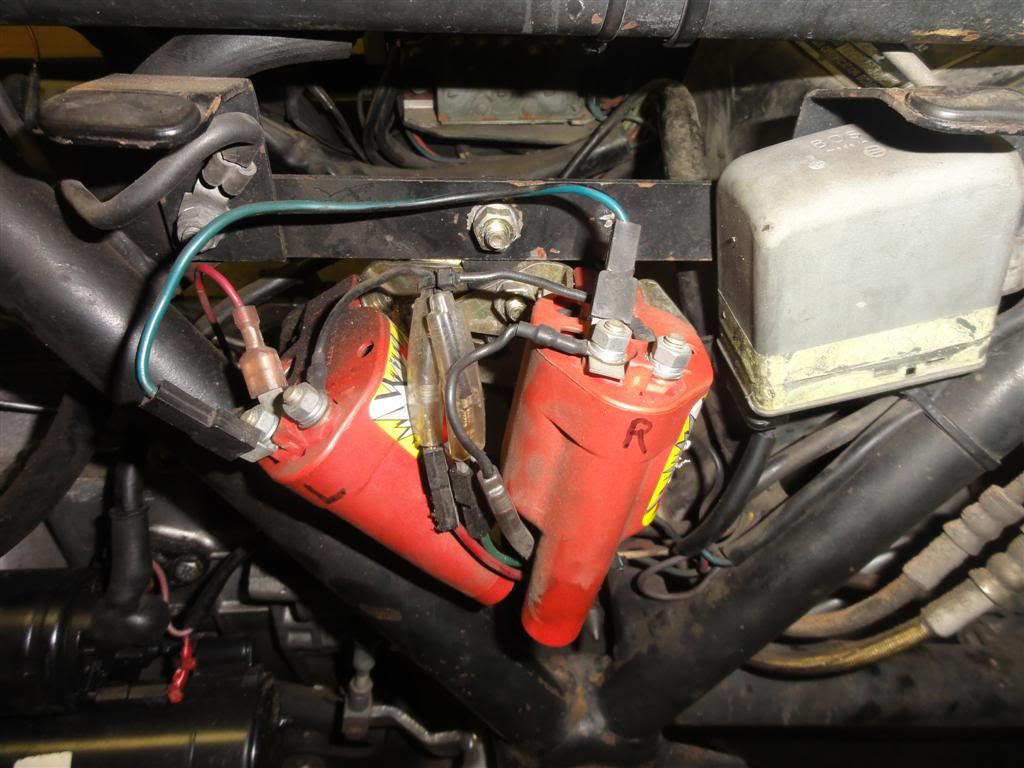
The re-build will also allow me to build and install a better mounting bracket for my GT40 coils that I installed after the failure of the original coils. My hurried effort, while effective, was not what you would call a work of art, hehehe.
 |
| Not much room |
The next big task was to get the brake system off. The contents of the reservoir for the rear brake pedal left a lot to be desired. The fluid was filthy. Not a good look. Everything came off ok although I can't say that I am looking forward to the re-installation of the brakes. Another mystery element for me, so it will be a learning experience.
As it came to Saturday morning, it was down to brass tacks and the bare bike stood ready before me, awaiting the coup de grâce. The execution was not to be all that swift as I met one or two sticking points along the way.
 |
| Ready for the final blows |
I am a firm believer in discretion being the better part of valour in situations such as this and fired another query off to AIGOR, hoping that they were not already getting sick of me. I was happy to receive a lot of advice on how to proceed, most of it confirming my own thoughts, so that was also good for my confidence.
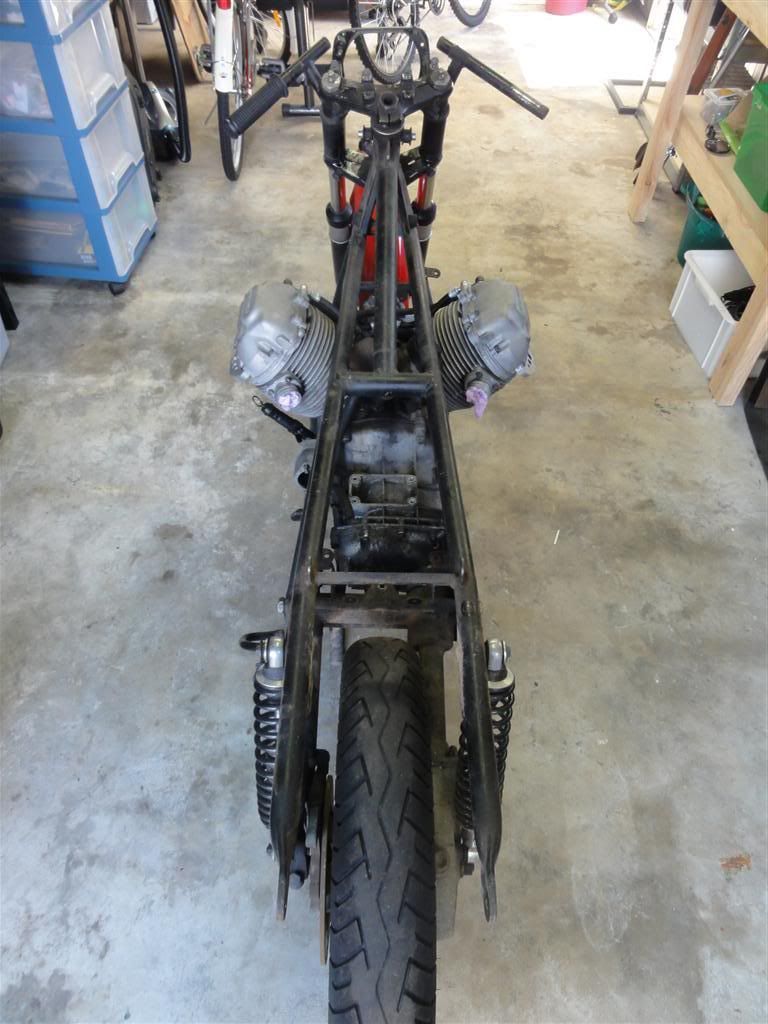
I won't bore you with too many details, but suffice to say, I managed to remove rear wheel, suspension and swingarm. I then disconnected the subframe and walked the main frame and front end off with no problems at all.
 |
| Getting close now |
That was a nice feeling, but there was no time to waste. I decided to do away with the front end before attacking the engine/rails/centre-stand section, and this is where I hit a snag. The fork tubes seemed to be locked solid into the yokes. No amount of WD40 or manly twisting attemps would release them from the vice-like grip of those wicked yokes. Arrrggghhhhh!!!! I re-examined my copy of the parts manual and deduced that I had missed nothing and that they were simply frozen to the yokes through being clamped there for eons. Oh well, out came the mallett...
Whack, whack, whack. There was movement at the station. Yay! I managed to get the tops of both tubes down to yoke level, then needed to use a wooden drift to bang then down out of the top yoke. Once free from there, it was more manly twisting to get them all the way down and out. With lock nut and adjusting nut removed, the top yoke then came off no problems at all, as did the clip-ons and the never-to-be-used-again-light-fitting, leaving the bottom yoke somehow firmly embedded in the steering head. It seemed to have taken a leaf out of the fork tube's book and would not budge. Hmmm.... it should fall straight out, right? Yeah, riiiight... Being a huge chicken, and even though I believed that a good belting is what it deserved, I decided to consult AIGOR again later to get a confirmation. So leave that as-is and lets get to the engine.
 |
| This ain't no yoke! |
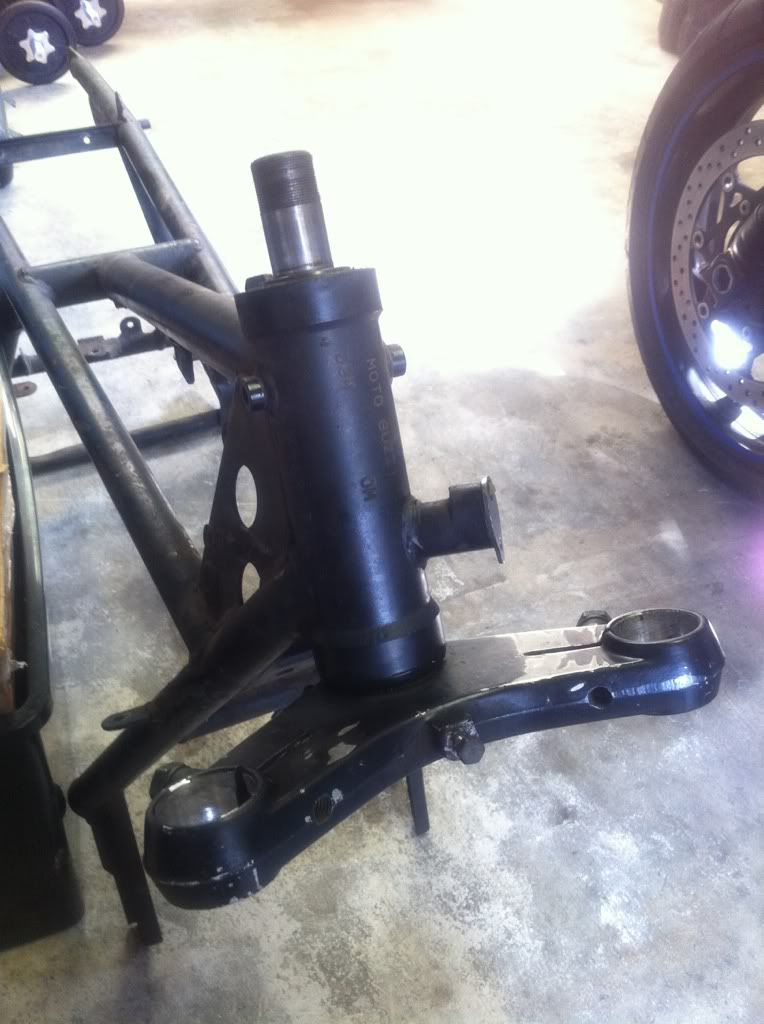
Suffice to say, AIGOR came to the rescue once again and several whacks of a hammer onto the top, using a block of wood as an intermediary and away she came, dropping like Marie Antoinette's head into a waiting box. The top bearing lifted out of the frame, but an inspection of the lower one found it firmly pressed onto the lower section of the yoke column. I have had advice that it can be left there if in ok condition, just regrease and refit as one with the yoke. However, I do want to re-paint/powdercoat (decision not yet made), so it will have to come off. One Aigorite, Brett, has constructed a puller to remove this bearing, so I shall be borrowing that and will take pics for this blog.
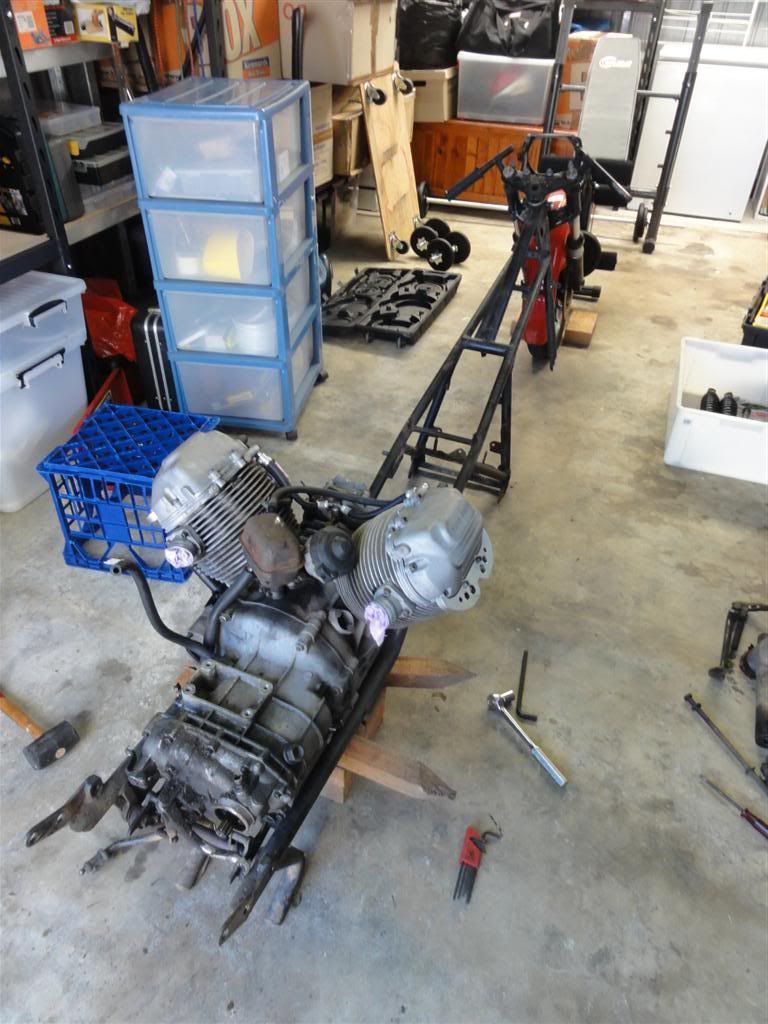
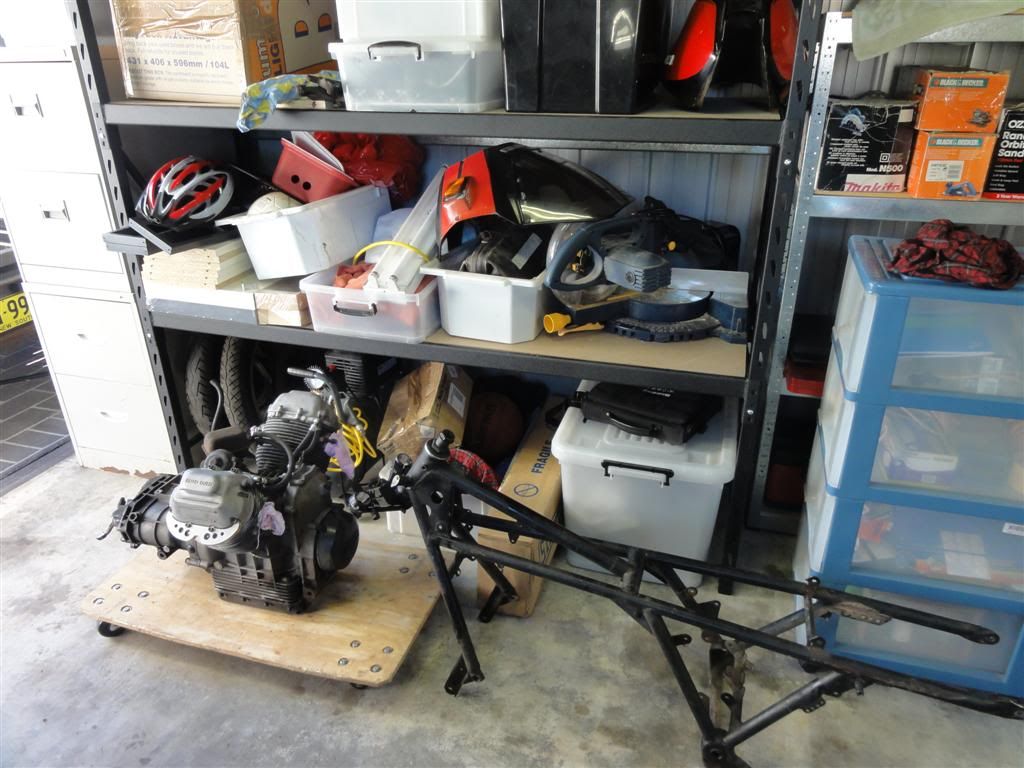
So after a week of fun and not much sleep, all that lay before me was the engine on blocks, still attached to rails and centre stand.
 |
| Yes, I know it is grotty... |
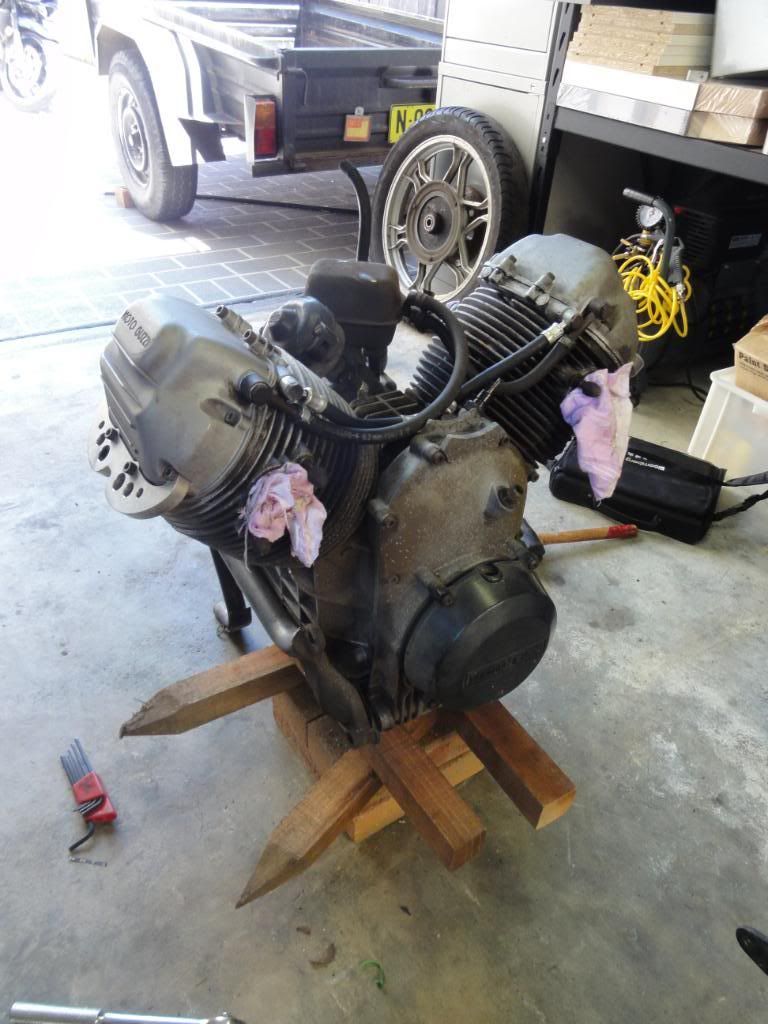
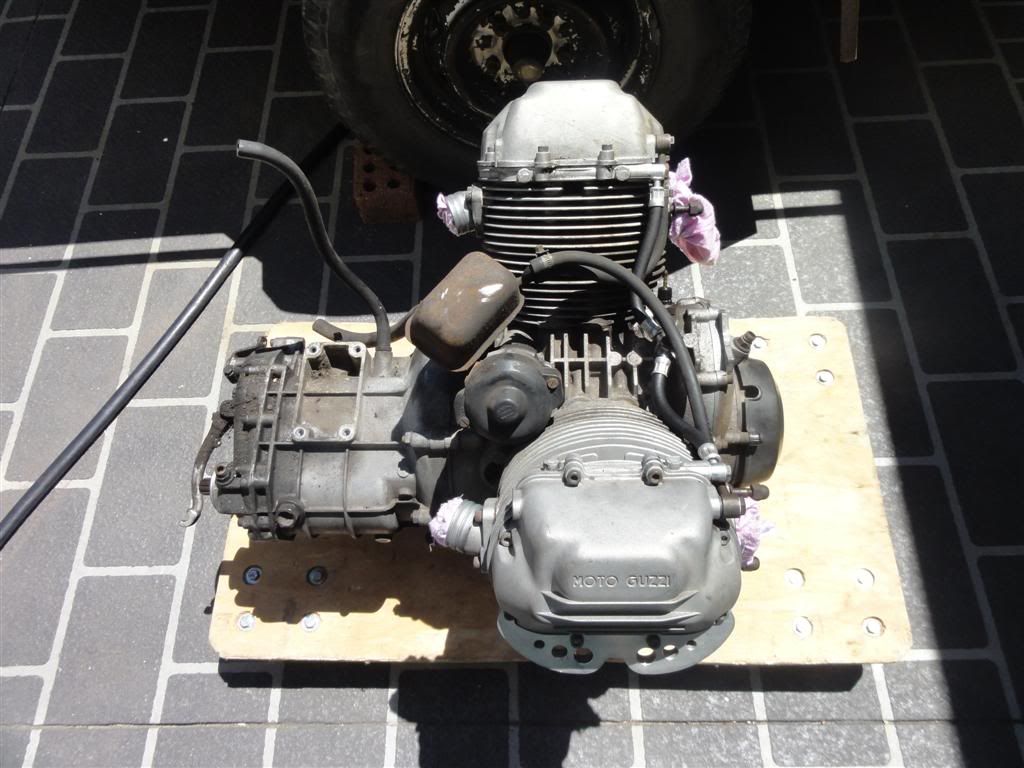
There were to be no further problems and simple removal of bolts and a bit of jiggling saw the engine free from the frame. Being a job for two, father and son (where did he come from?) lifted it onto an awaiting dolly and it was wheeled out into the sunshine to pose for a posterity picture.
Then it was wheeled back inside to await further instructions!
That just about brings us up to date. Next on the horizon is to get the bearing off of the yoke, and also the swingarm bearings out. The forks will need dismantling to allow the lowers to be re-coated. I will be spending some time in cleaning up parts to remove the years of oil, grease and grime. Decisions will have to be made on whether to paint or powdercoat the relevant parts.
Yeah, lots to do... but what fun it is!
 |
| Engine out. Please clean me. |
 |
| Awaiting further work (note: lower yoke now successfully removed!) |
Stay 'tuned' for more...